The LoRaWAN Quest Log – Part 2: Node-RED & Wiring up with TTN
In the last blog entry “The LoRaWAN Quest Log – Part1” I set up the gateway, TTN and a first sensor for my LoRaWAN. Next step I would like to set up Node-RED and wiring up with the TTN so I can use my sensor data.
Installing Node-RED
At home my IT infrastructure contains some Raspberry Pi’s, running Diet-Pi (e.g. this blog runs on one, about typical setup you can read here). One of them idles more or less, so I had some free capacity to install Node-RED.
Since it is already included in the Diet-Pi software catalog, the installation is very simple. Simply select Node-RED under dietpi-software and let it install.
Also installed the UI to use a dashboard later:
npm install node-red-dashboard
and the according Nodes via Node-RED Interfeace (Manage Palette [alt-⇑p]). Search for package “node-red-dashboard” (the most matured & most common).
The interface opens in the web brower with URL:
http://<RasPi.IP>:1880Dashboard (for now empty) is found with default settings at:
http://<RasPi.IP>:1880/ui
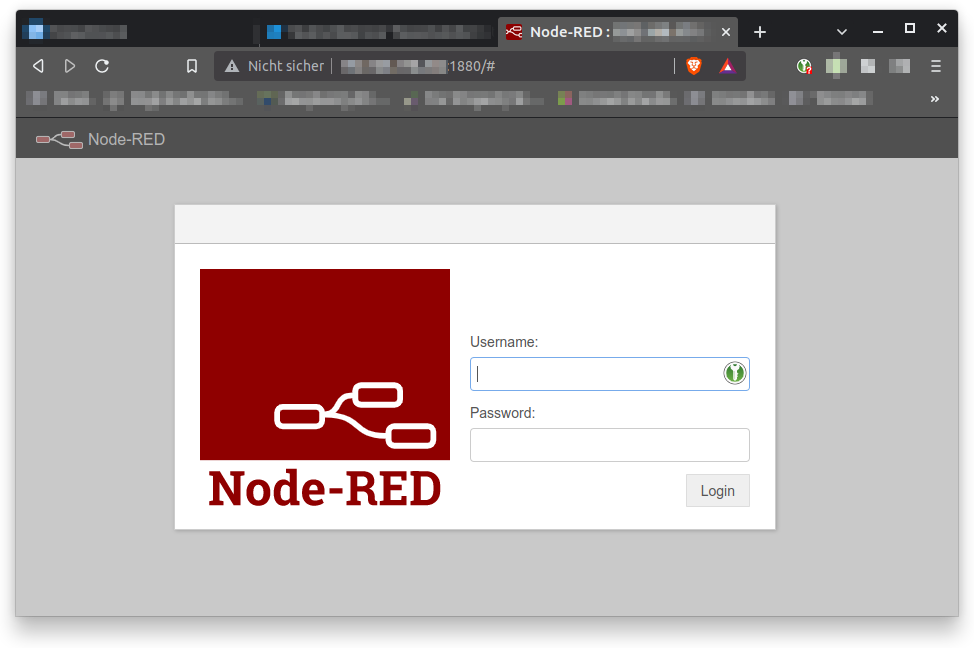
Although the Node-RED interface is only accessible from intranet, not from outside, it is recommended to create at least a login. Described how to do here in chapter “Editor & Admin API Security”.
Some notes for Diet-PI:
- The configuration script can be found here:
/mnt/dietpi_userdata/node-red/settings.js
- The password hash generator is called with:
node-red-admin hash-pw - Beside the Admin account an read only Viewer account is handy

Wiring Up Node-RED with TTN
Just following the instructions for the test flow from the TTN tutorial and watching the incomming data.

⇒ Planned next Chapter in this quest: How to decode the payload display it on a dashboard and log the data in a file, but for now – Feierabend (Let’s call it a day).
